
|
So the excitement over the past week has been the new Adobe Camera Raw 13.2 feature touting a quadrupling of your picture resolution using AI. Aptly called Super Resolution, I put it through its paces to see if it actually works on many of my photos of birds that were taken from a long distance back and needing a fair bit of cropping. There were a lot of mis-steps in the road to discovery, so I will guide you along so as not to repeat the mistakes I've made along the way. That said, here are the step-by-step instructions: Step 1: Open your RAW file (Nikon NEF, Canon CRW, Sony ARW, etc) using the latest Adobe Photoshop 2021 (release 22.3) and the updated Adobe Camera Raw (ACR) 13.2. Alas ACR 13.2 can only be installed if you have this new Photoshop version.  Step 2: Right-click on any part of the image, select the Enhance function from the pop-up menu (See picture above). You will now see the Enhance Preview dialog box similar to the picture below: 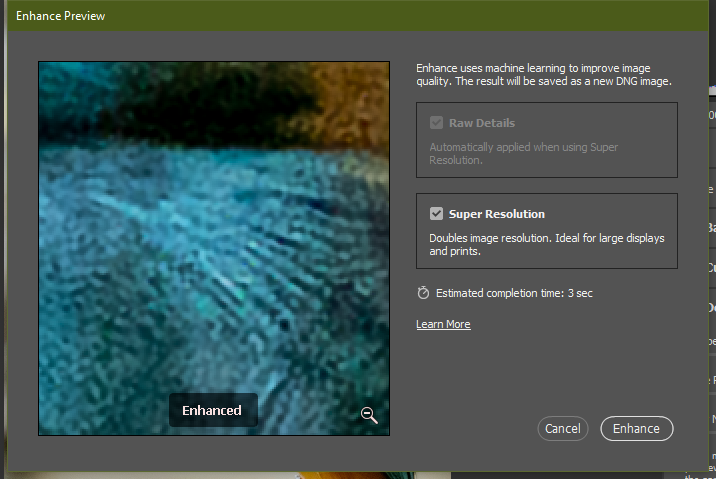 By clicking and holding on to the left button on this enlarged image, you can toggle between the Enhanced image and the Unenhanced image (see below). That way you can see the changes made by the AI-based Super Resolution function. 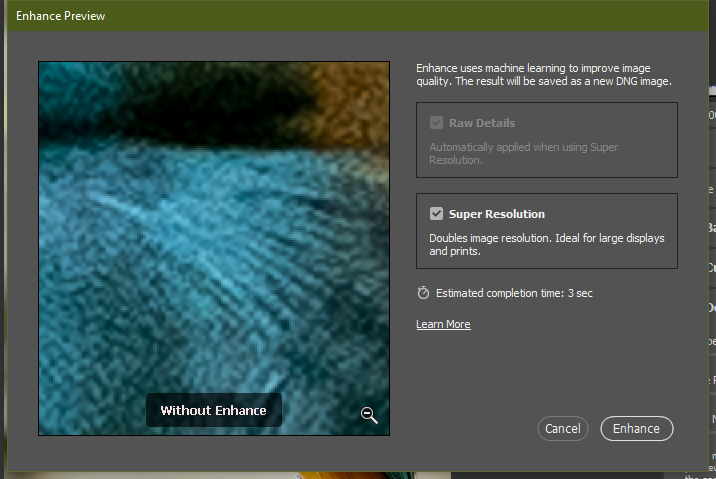 You can immediately see the changes that will be made by this Super Resolution (SR) feature. Firstly you will notice that it added an amount of digital noise. This is one of the "benefits" of SR. After all, remember GIGO (Garbage In Garbage Out)? You cannot get something out of nothing and so if your image is noisy to start off with, you will end up with artifacting similar to the one above. But nevertheless, there are some noticeable gains - edges are more defined and overall, the image looks sharper. You can press the [Enhance] button here and the whole image will have a doubling of the horizontal and vertical pixel sizes. As I only want just a small section of the picture to be enhanced, I press [Cancel] here and proceed to Step 3. Step 3: To zoom in on the image, go back to the main ACR screen and use the crop tool to select just the section of the image that you want and then apply the SR enhancement. 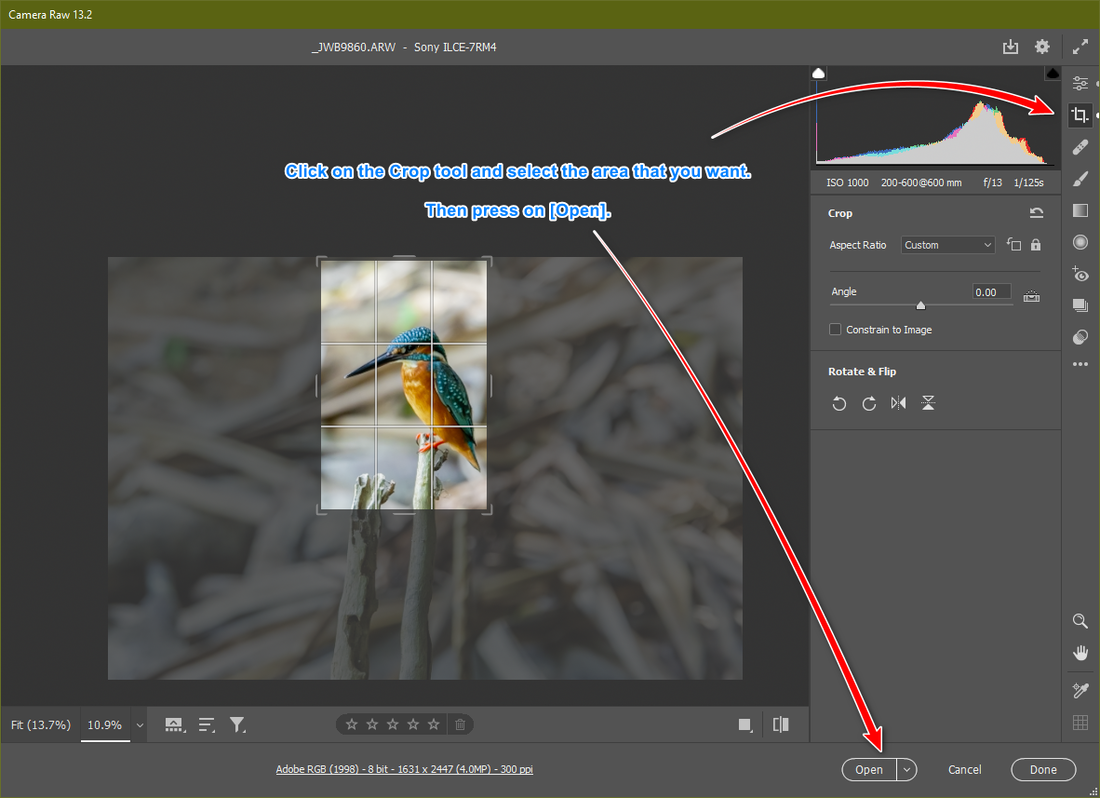 Step 4. You will now see two thumbnails of the cropped image at the filmstrip below the image. (See picture below). If you do not see this filmstrip, just press the [ / ] button on your keyboard. Now comes the important step - you must select the second image as this is the one that has the enhancement. 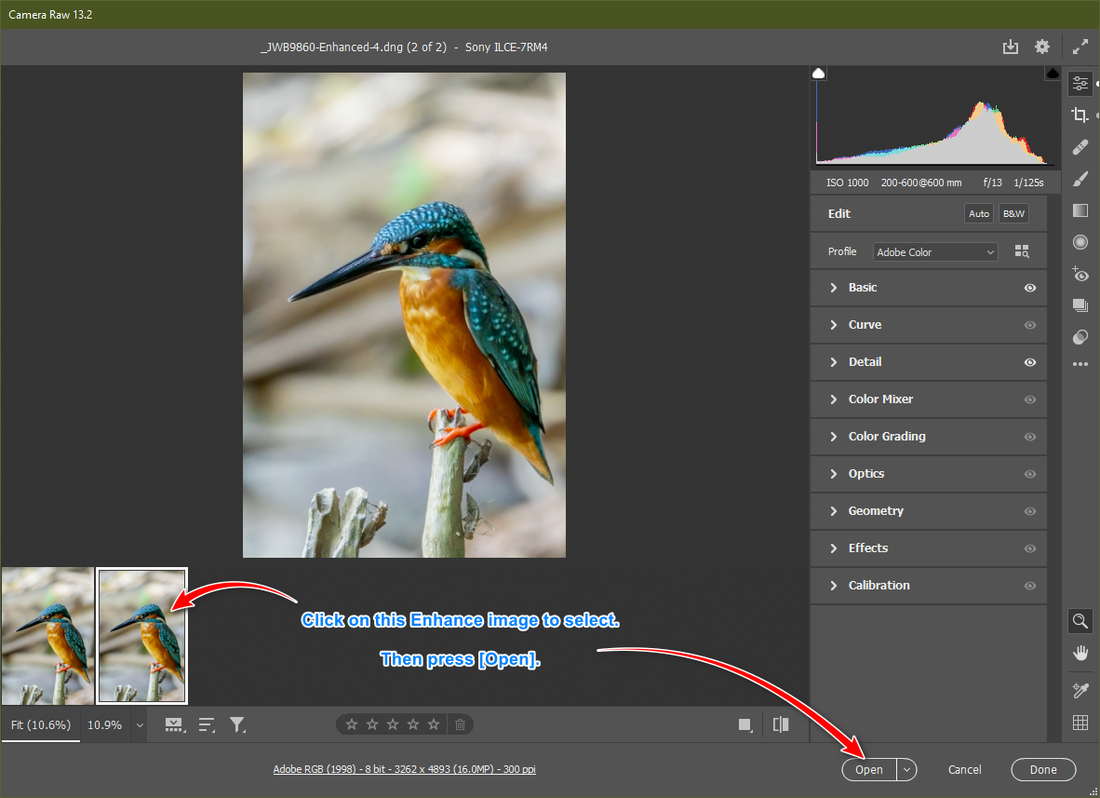 You now have an image that is twice the resolution horizontally and vertically. This is just perfect if you want to print the image as you now have a file that is four times bigger. Further experimentations with this SR-enhanced image revealed some interesting facts. Firstly, if you think you can further enhance the image using Topaz Denoise AI or Topaz Sharpen AI, you can just forget about it. I came to that conclusion after testing many files. In fact Topaz just made a whole mess out of the images and I removed it from my workflow completely. Here is a sample using Topaz Denoise AI. 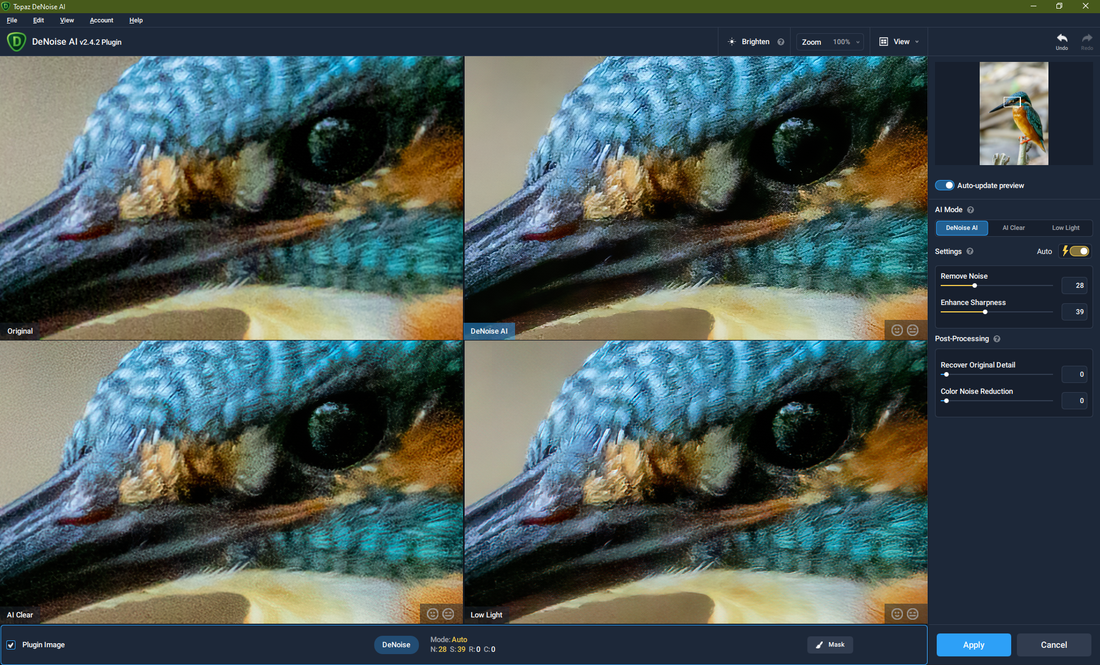 All 3 enhancements - Denoise AI, Low Light or AI Clear introduced unacceptable artifacting resulting on a worse-off image than the original. 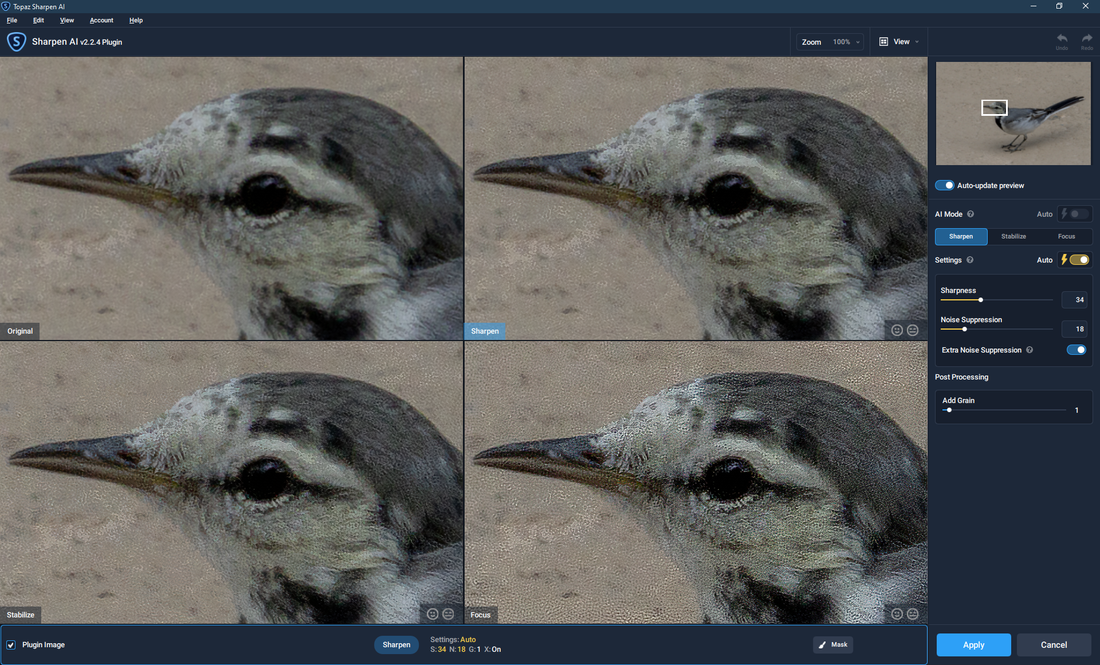 The results were even worse with Sharpen AI. All 3 options Sharpen, Stabilize and Focus produced unacceptable results. So back to the original question - is there a benefit in all of the Super Resolution? Well yes, if you are wanting to print an enlargement from a file with not enough resolution to begin with. As for increased sharpness, as I discarded the use of Topaz, I experimented with the built-in Details function of ACR and found that I can increase the sharpness further with no visible penalties. 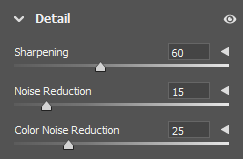 Finally for an orange-to-orange comparison, I reduced back to the original size using Bicubic Sharper (reduction). 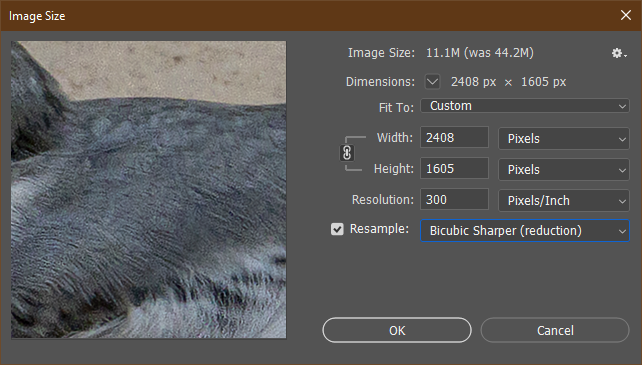 The result speaks for itself. Have a look and tell me if it is all worth the effort! 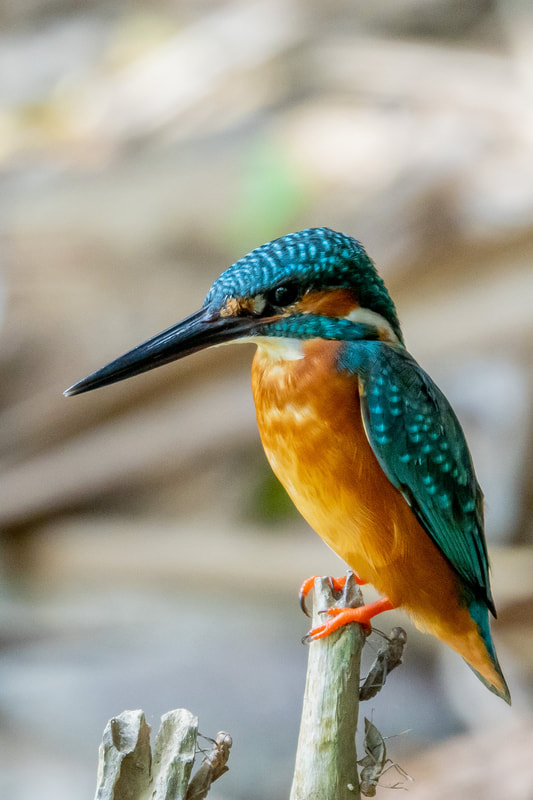 Cropped image without any SR Enhancement applied. 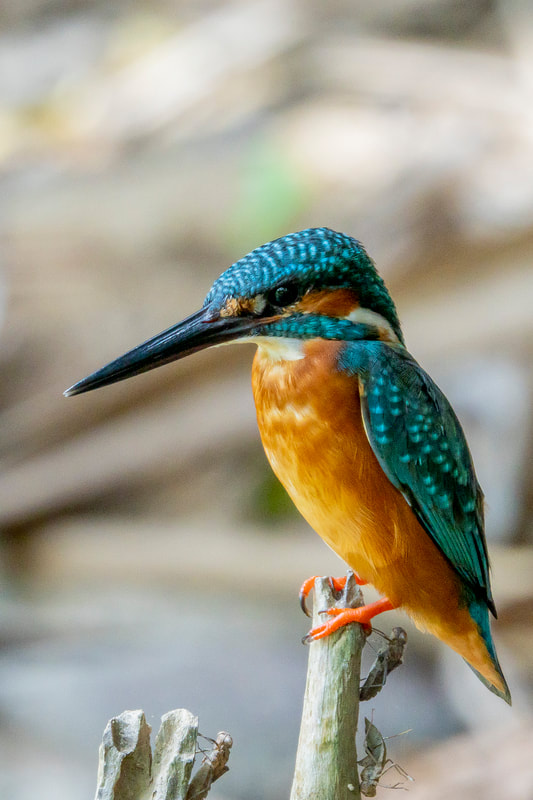 Super Resolution enhancement applied and then reduced back to original resolution. There are some noticeable sharpness that can be seen - especially to the ants (yes there are ants on the branches!) and the feathers of this Common Kingfisher. To the Pixel Peepers out there, do let me know what you think and whether is it worth all that work. As always, I welcome any comments - either positive or negative. We all learn by sharing. Update: 19th March 2021:
So the question that was raised was whether there are any benefits to be gained in running the SR enhancement over previous enhanced image over and over many times. Well, the answer is - No! I experimented with many images, stopped doing it four times and checked the results. There just was no noticeable benefit whichever way you want to review the image - either blowing up the original 4 times or reducing the 4x enhanced image back to its original size. So folks, don't waste your time. It may give you some benefits if you are dealing with very, very low resolution files like 500x500pixels, but for my birding photos shot using the Sony A7Riv, no! Full stop!
0 Comments
Leave a Reply. |
AuthorAn avid photographer since when he was a kid, M.K. Wong delves in both photo-taking as well as post-processing techniques. Archives
March 2021
Categories |
 RSS Feed