
|
I have been using my set-up for taking photos of birds for more than a year now. The configuration consists of my trusty Sony A7Riv with the FE 200- 600mm f/5.6-6.3 G OSS lens. Of late, I wanted to test the lowest shutter speed that I can set when taking birds that are perched. An opportunity came up when a juvenile buffy fish owl clambered down to a low perch on its maiden flight. The sun was almost overhead and lit up parts of the bird just enough for me to test this combo. This was not the ideal condition, but then again when you are shooting wild-life, you take what mother nature dishes out to you. It was breezy, with leaves swaying and branches moving. The juvenile was no help as it was moving erratically and observing the surroundings. 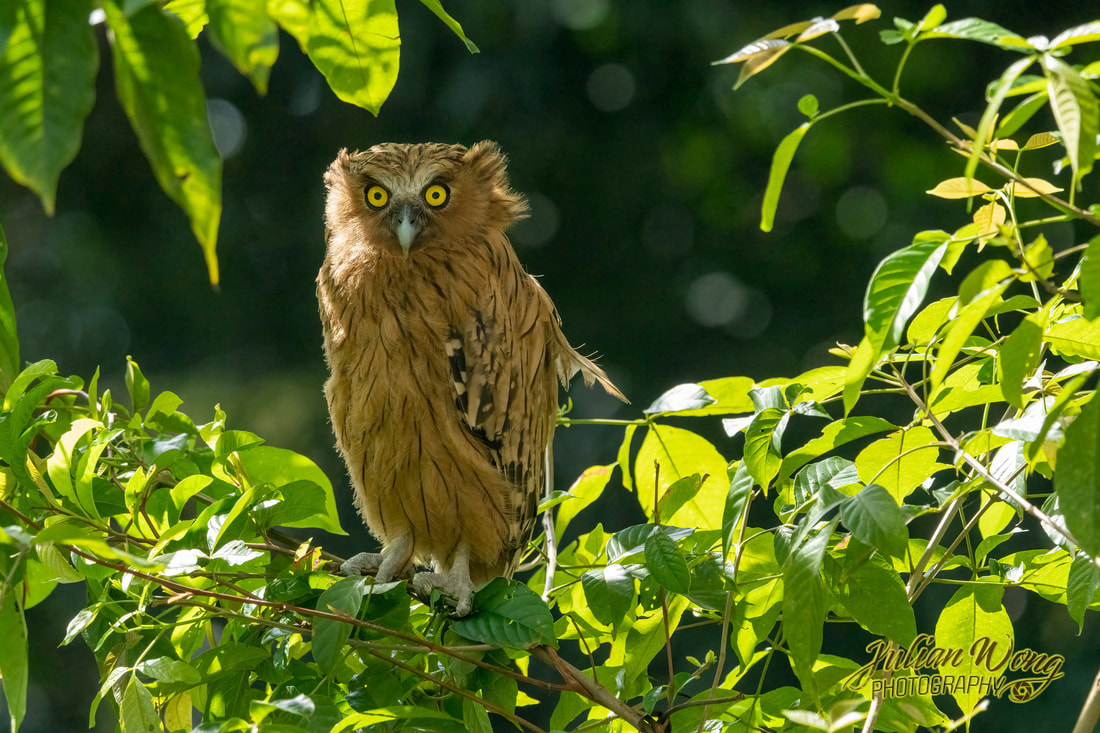 This is the full-sized uncropped image at 9504x6336 (61MP) resolution. The camera was mounted on a tripod (not the steadiest) and shot by pressing on the shutter release. It would have been better if a cable release or the RMT-P1BT were to be deployed, but again many situations just demand your immediate attention. The OSS setting was ON and set to #2. I found that turning it on or off makes no difference when using a tripod. I decided to turn the camera to portrait mode and switched to APSC mode (giving a crop factor of 1.5x at about 26MP). To get even closer, I zoomed the lens in to about 750mm. In total, the effective zoom setting was around 1135mm. 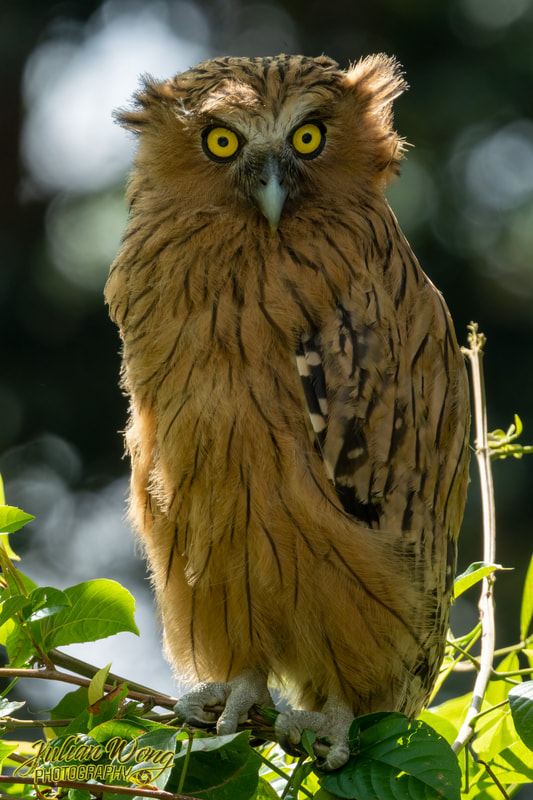 This is the full uncropped APSC image at 4160x6240 (25MP). I then started with 1/15th sec. at f/16 in order to hit the lowest ISO setting of 100 and then moved my way up all the way to 1/100th sec. All the photos here are JPEGS (set to fine mode) straight out of the camera without any enhancements by any software. They are cropped to 640x480 to have a zoomed-up enlargement. 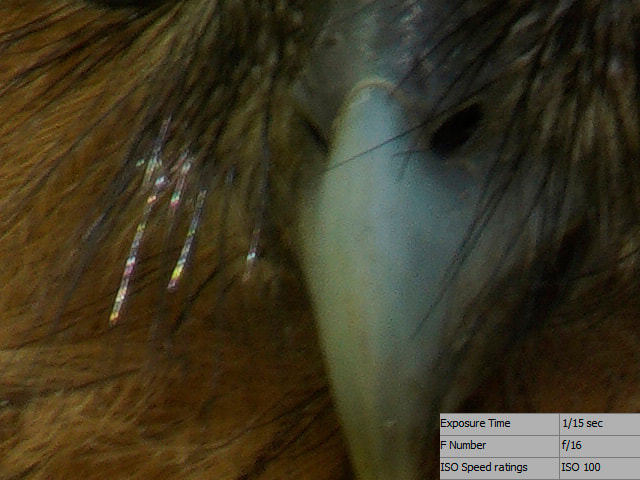 At 1/15th, this was the sharpest out of about a dozen pictures taken. 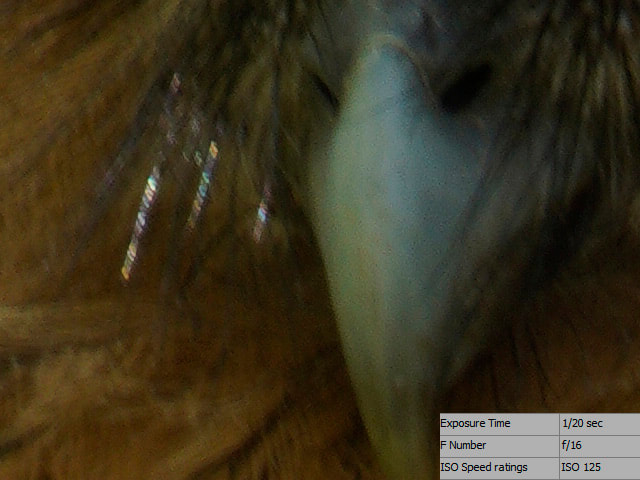 At 1/20th sec, the situation has not improved much. All 5 out of 5 images were blur. 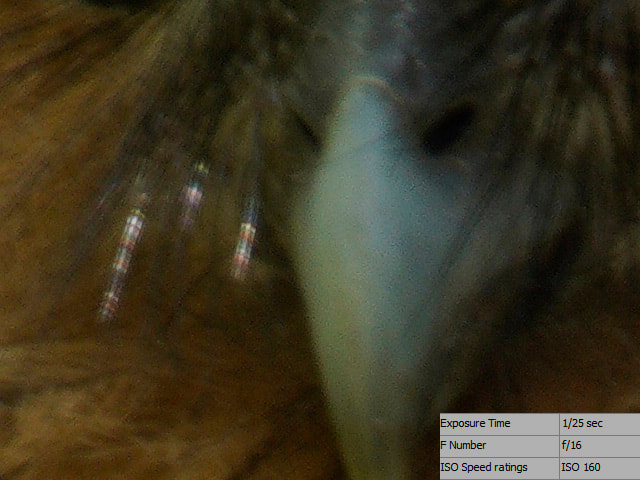 With only 3 shots taken at 1/25th, all were blur and unusable. 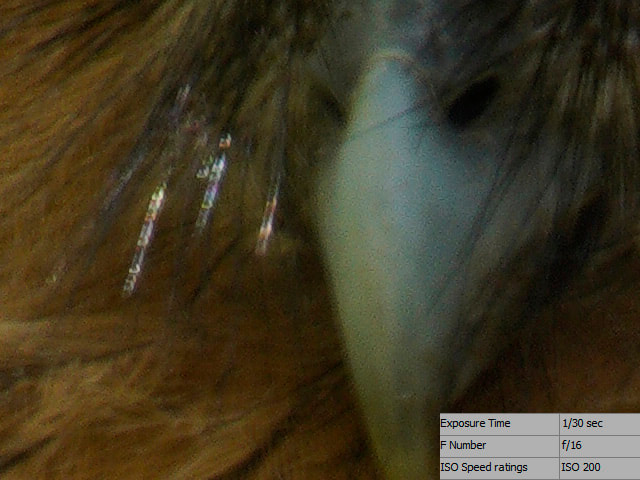 At 1/30th things improved a bit, but not enough for a sharp image of the bird. 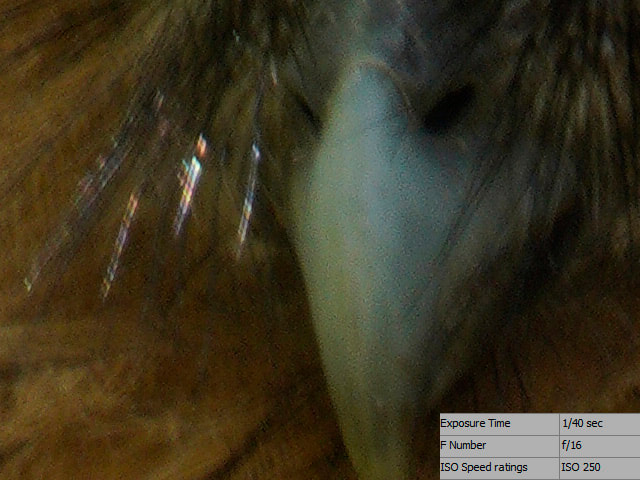 There was a slight improvement at 1/40th, but still unacceptable. 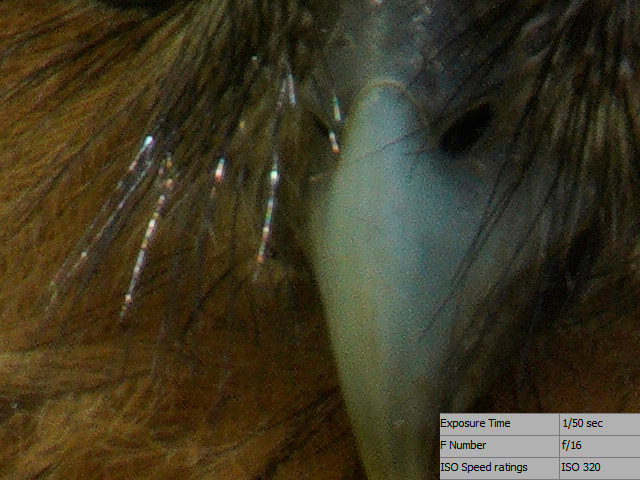 At 1/50th, things started to look good. 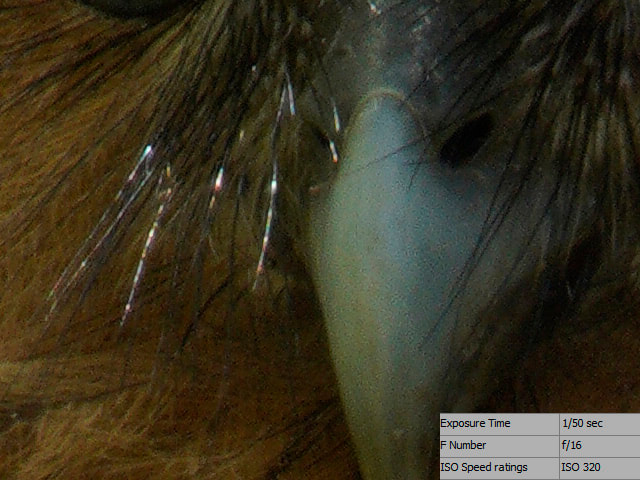 Still at 1/50th sec, I was able to nail the sharpness in 1 out of about 5 images. As you can see from the image above, at 1/50th sec. the results were very good indeed. For me this shutter is usable in the worst-case scenario where there is not enough light. However the probability of getting a good image is about 1 in 5, so it is still a hit or miss. 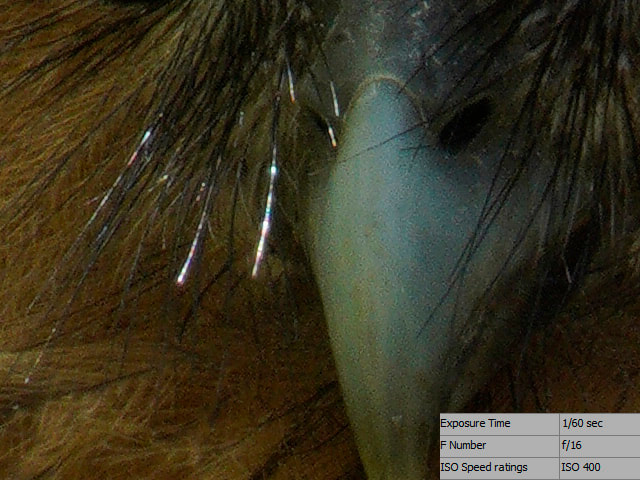 At 1/60th, I am close to the sweet spot, but not just as yet. At 1/60th sec, my chances of getting a sharp enough picture got much better, with 1 out of 2-3 images acceptably sharp. Still I am only at ISO400, so I decided to stretch it a bit more. 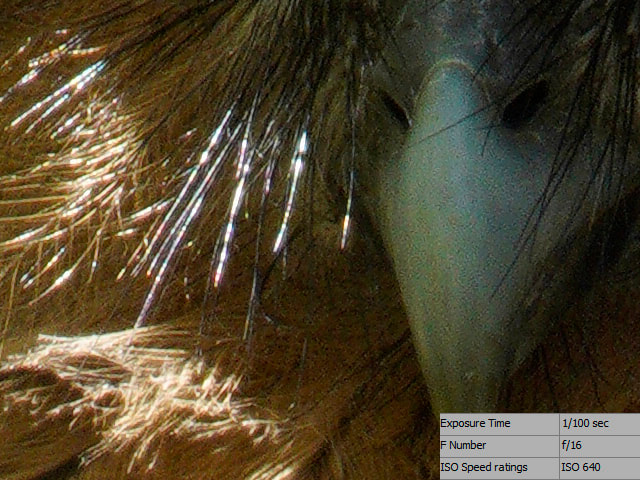 The sweet spot for me is 1/100th sec. At 1/100th sec, I was getting good odds in the number of sharp photographs that are keepers. The ISO noise of the 61MP Sony A7Riv is beginning to show, but is still very acceptable. If needed I can then run Topaz Denoise AI to completely eliminate the slight graininess.
Interestingly, this is also a good test of the amount of digital noise at the various ISO settings. At ISO640, the image is more than acceptable, and I was able to go as high as ISO 6400 and still maintain a respectable image quality on the Sony A7Riv. But alas, that is about the upper limit of my tolerance, and in the worse case scenario with really poor lighting conditions, ISO8000 is about the max that I will go. Do try you own shutter speed tests, that way you know the limits of your camera and lens combination. Let me know what you think and I always welcome all your feedback!
0 Comments
Leave a Reply. |
AuthorAn avid photographer since when he was a kid, M.K. Wong delves in both photo-taking as well as post-processing techniques. Archives
March 2021
Categories |
 RSS Feed